
To fix damaged shingles start by getting the required tools like a pry bar & nails for roofing. Inspect the roof for damaged areas and carefully remove the affected shingles. Next, align and secure new shingles with nails while following manufacturer instructions to ensure a proper fit. Applying sealant on the edges provides extra protection. Following these steps will safeguard against leaks. More insights on this process await further exploration.
Key Takeaways
- Gather tools such as a pry bar, roofing nails, and replacement shingles before starting the replacement process.
- Carefully remove damaged shingles with a pry bar and inspect for additional damage in the surrounding area.
- Slide the new shingle into position, ensuring proper alignment, and secure it with roofing nails at the correct angle.
- Apply roofing sealant along edges and seams to enhance moisture protection and shingle integrity.
- Follow safety precautions, including using a sturdy ladder and wearing protective gear, to prevent accidents during the task.
How to Replace Missing Shingles Safely and Correctly
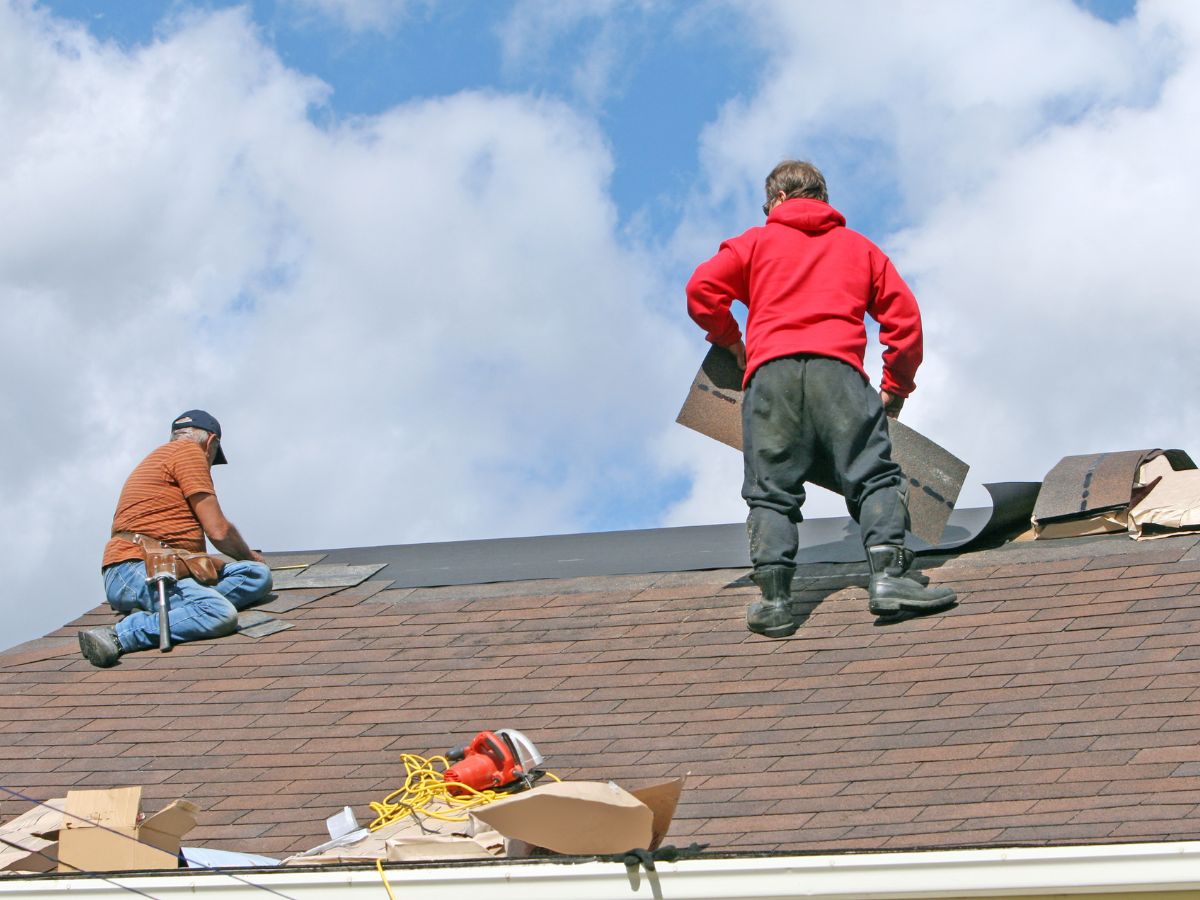
Replacing missing shingles requires careful preparation and attention to safety to ensure the job is completed effectively. People who own homes need to start by getting important tools. These tools include a ladder, nails for roofing, a pry bar and new shingles matching the current roof.
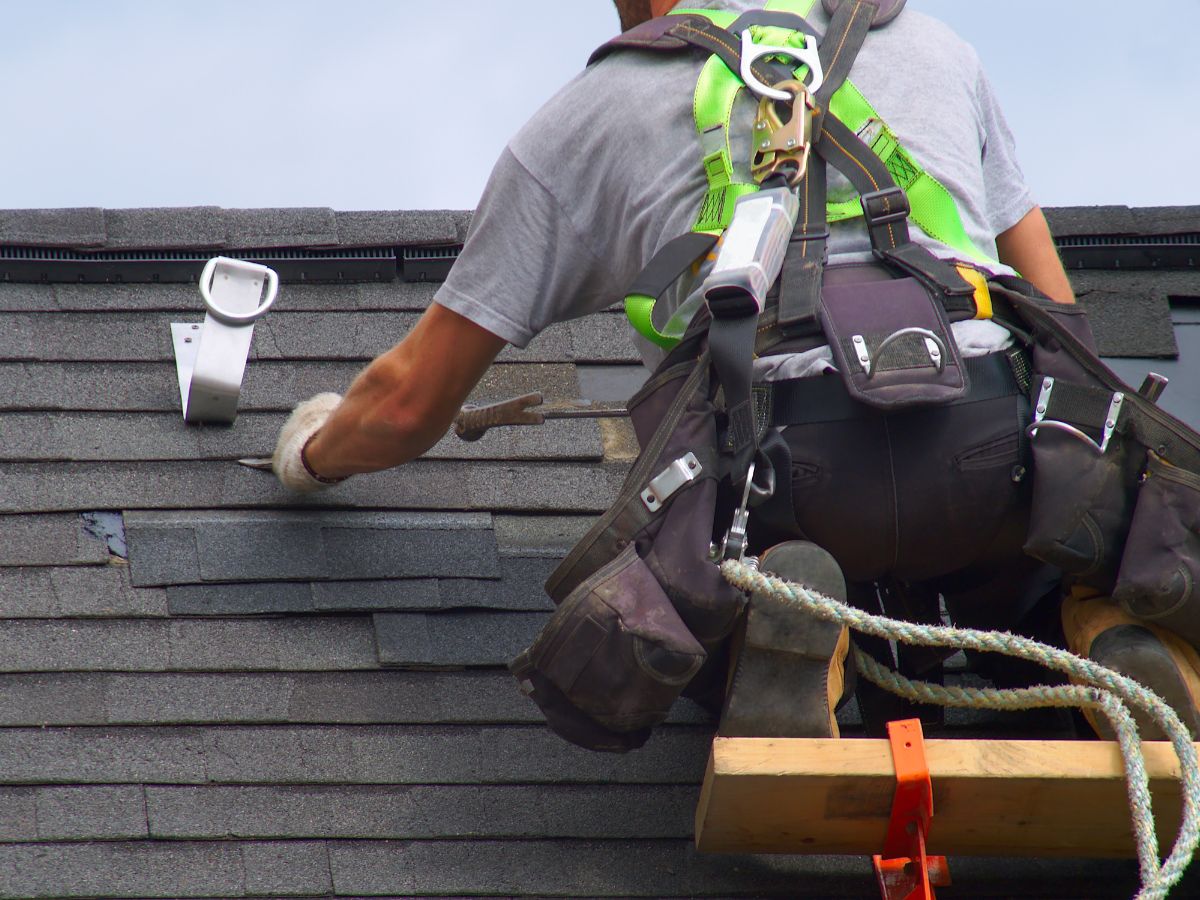
Understanding how to replace missing shingles starts with inspecting the roof for any damaged areas. Safety is paramount; wearing a harness and ensuring stable footing on the ladder is crucial.
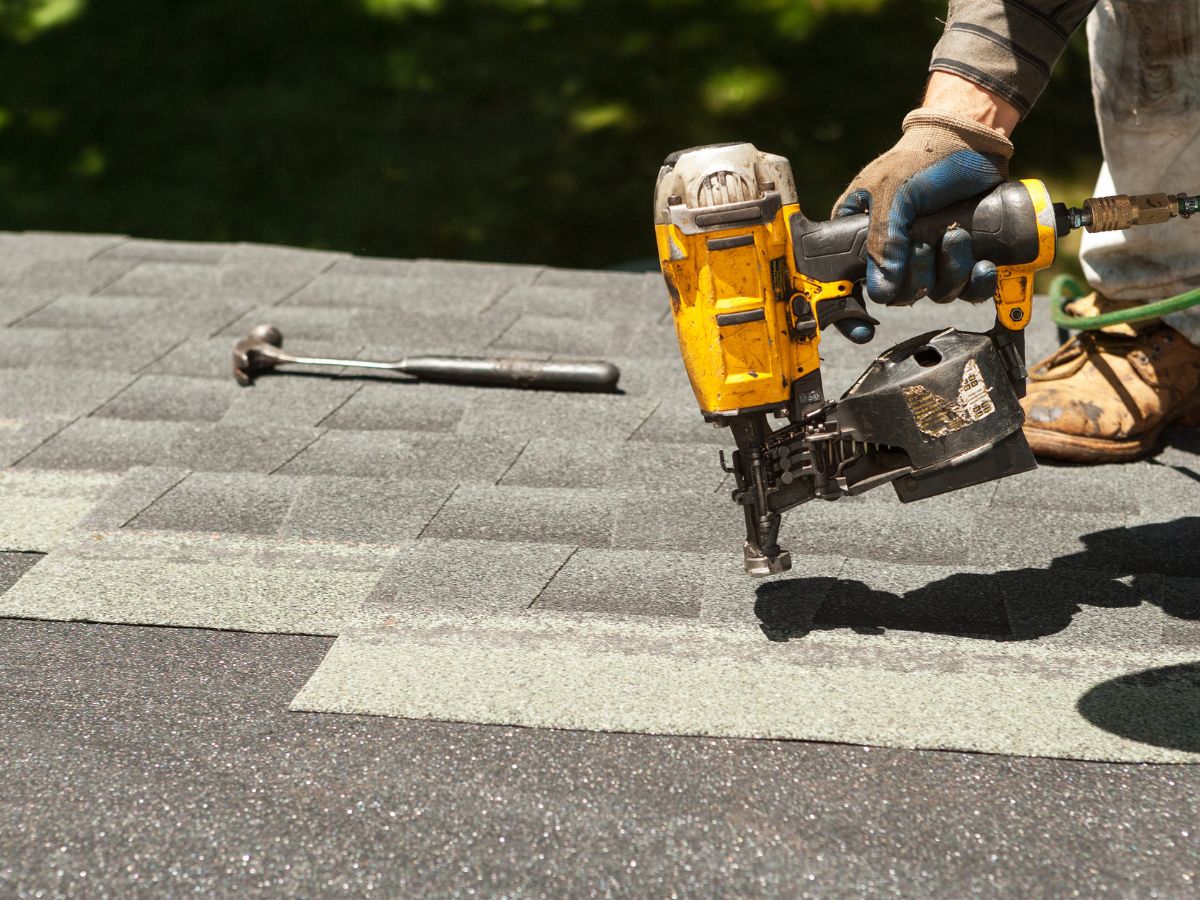
Once the missing shingle is identified, the damaged shingles are carefully removed using a pry bar. The next step involves sliding the new shingle into place and securing it with roofing nails. It is important to ensure that the nails are driven at the correct angle to prevent leaks.
Fixing Missing Shingles to Prevent Roof Leaks and Damage
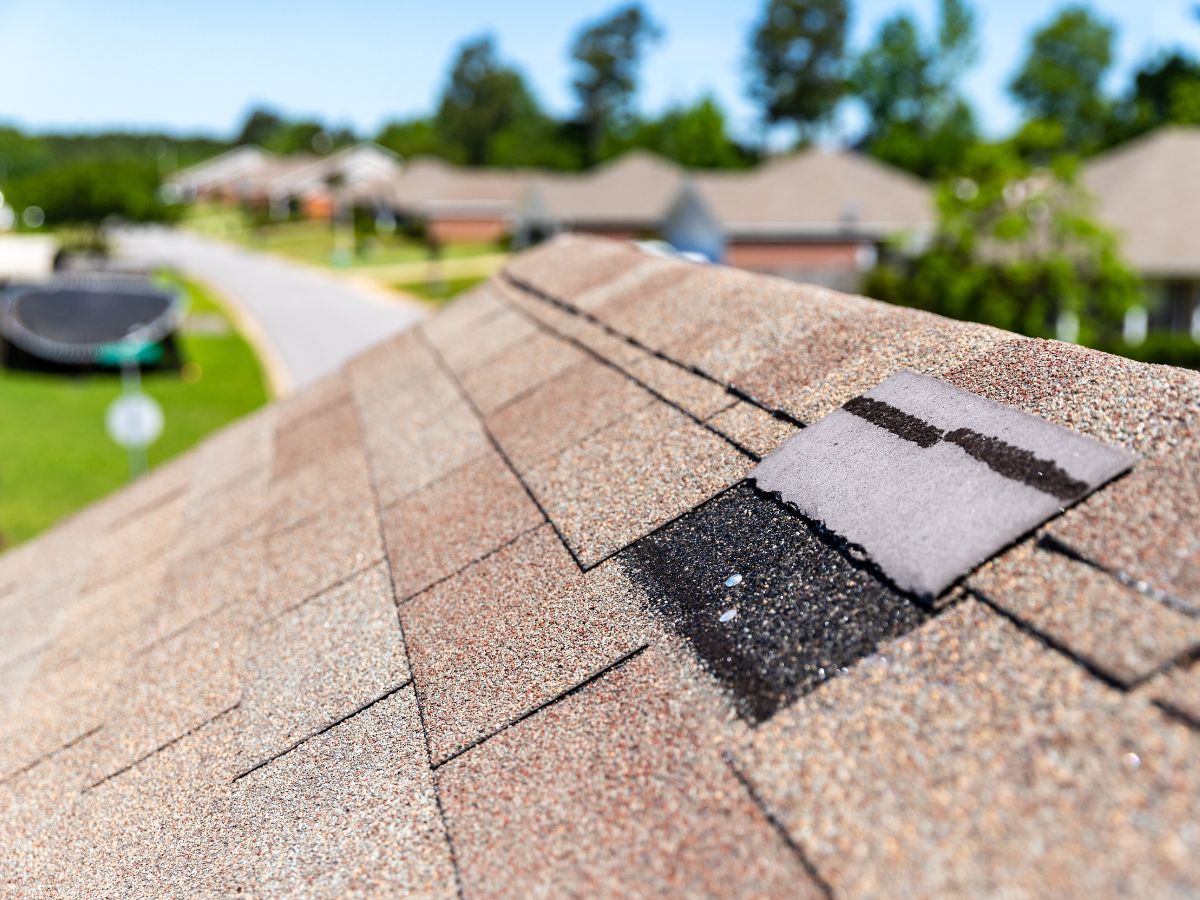
Fixing missing shingles promptly is essential for homeowners looking to prevent roof leaks and further damage. When shingles are missing, the underlying roof structure becomes exposed, increasing vulnerability to water intrusion.
Homeowners often seek guidance on how to replace missing shingles on a roof to maintain the integrity of their homes. To begin, identifying the specific type of shingles is crucial for a proper match. Next, they should gather necessary tools such as a pry bar, roofing nails, and replacement shingles.
The process involves carefully removing damaged shingles and securing new ones in place. For those unsure about how to replace roof shingles that blew off, following manufacturer instructions can help ensure a tight fit.
Sealing and Securing Shingles to Prevent Future Damage
Effective sealing and securing of shingles is crucial for homeowners seeking to extend the lifespan of their roofs and minimize future repairs.
After replacing missing shingles, it is essential to apply a high-quality roofing sealant along the edges and seams. This step prevents moisture infiltration, which can lead to costly damage down the line. Homeowners should also ensure that all nails are driven securely, as loose nails can compromise the integrity of the shingles, leading to future replacements.
Understanding how much does it cost to replace missing shingles highlights the importance of investing in proper sealing techniques to save significant expenses over time.
Understanding how to replace shingles effectively involves not just the installation but also proper maintenance practices. By taking these proactive measures, homeowners can create a shield against the elements, fostering a sense of security and belonging in their homes while ensuring their roofs remain sturdy and reliable for years to come.
Safety Precautions Before Replacing Missing Shingles
Before embarking on the task of replacing missing shingles, homeowners must prioritize safety to prevent accidents and injuries. Ensuring a secure working environment is essential; this includes using a sturdy ladder and wearing appropriate footwear with good traction.
Homeowners should also consider wearing a hard hat and safety goggles to protect against falling debris.
It is crucial to assess weather conditions before beginning the project. High winds or rain can significantly increase the risk of slips and falls. Additionally, having a partner present is advisable, as they can assist in case of emergencies.
Homeowners should also check for any electrical lines near the roof to avoid hazards.
Finally, ensuring that all tools are in good condition and easily accessible will create a more efficient and safer work environment. By taking these precautions, homeowners can confidently approach the task of replacing shingles, fostering a sense of achievement in maintaining their home.
Tools and Materials Needed for Replacing Shingles
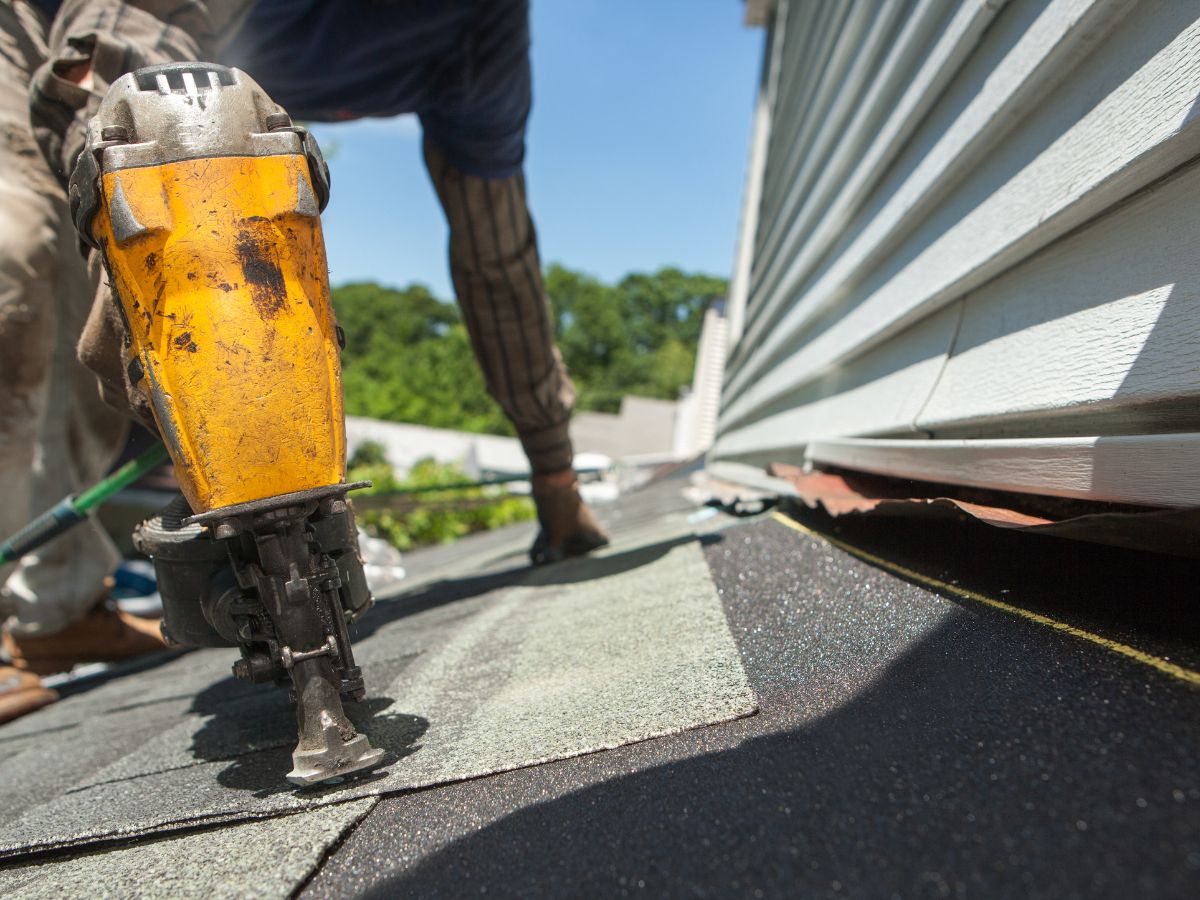
Replacing missing shingles requires a specific set of tools and materials to ensure a successful repair. Homeowners should gather basic tools such as a pry bar for removing damaged shingles, a hammer for securing new ones, and a utility knife for trimming.
Safety equipment, including gloves and safety glasses, is essential to protect against sharp edges and debris.
In terms of materials, matching shingles are crucial for maintaining aesthetic appeal and roof integrity. Homeowners will also need roofing nails to secure the new shingles and roofing adhesive or sealant to provide extra protection against water infiltration.
Additionally, a ladder is necessary for safe access to the roof. By equipping themselves with these tools and materials, homeowners can confidently take on the task of replacing missing shingles, fostering a sense of accomplishment and belonging within their community of proactive home maintainers.
How to Replace Roof Shingles That Blew Off During Storms

Storms can cause shingles to detach from roofs, leaving homeowners facing the task of replacement. To begin the repair, one must first assess the damage by inspecting the roof for missing or broken shingles.
Gathering the necessary tools—such as a pry bar, hammer, and roofing nails—is essential. Safety precautions, including wearing a harness and ensuring the ladder is stable, should not be overlooked.
Next, remove any remaining nails from the exposed area using the pry bar. Position a new shingle in place, ensuring it aligns with the existing ones. Secure it by driving nails into the shingle and the underlayment beneath.
It’s vital to follow the manufacturer’s guidelines for proper installation to maintain warranty coverage. Finally, inspect the surrounding shingles for any additional damage, ensuring the roof remains secure.
FAQ: Replacing Missing Shingles
How do I check for additional hidden roof damage after shingle loss?
After removing the damaged shingles, inspect the surrounding area for signs of water infiltration, soft decking, or rusted flashing. Look for discoloration, moisture buildup, or sagging areas underneath the removed shingles. Gently press on the exposed decking to detect weak spots that may indicate hidden damage.
How long does it take to replace missing shingles?
Replacing a few missing shingles typically takes 1–2 hours for most homeowners, depending on experience, roof pitch, and weather conditions. If multiple shingles or layers are involved, or if safety equipment is needed, the process may take longer. Always allow extra time for proper sealing and cleanup.
Are permits required for replacing shingles on my home?
In many cases, minor repairs such as replacing a few shingles do not require a permit. However, local regulations vary. If you’re replacing a large section of roofing or modifying the structure, you may need a permit. It’s best to check with your local building department before beginning repairs.
Do I need special equipment to replace missing shingles?
You don’t need specialized tools, but you do need basic roofing equipment: a pry bar, roofing nails, a hammer, a utility knife, sealant, and a sturdy ladder. Safety gear—such as gloves, non-slip footwear, and eye protection—is essential. For steep or high roofs, a safety harness is strongly recommended.
Final Thoughts
Replacing missing shingles is more than a cosmetic fix—it’s a vital step in preserving your roof’s durability and your home’s protection. By using the right tools, following safety measures, and properly securing new shingles with sealant and nails, homeowners can prevent leaks, water damage, and costly repairs. Whether shingles were lost in a storm or deteriorated over time, addressing the issue promptly ensures long-term structural integrity.
If you’re unsure whether your roof needs repairs or a full replacement, explore our insights on roof replacement costs in Houston or review common spring roofing problems that often go unnoticed.
Don’t wait until minor damage turns into a major issue. Contact Texas Stag Roofing Solutions today to schedule a roof inspection and let our expert team help keep your home secure and weather-ready.